
Encountering the error message “CPU fan speed error detected” on your computer can be unsettling, especially if you’re unfamiliar with hardware diagnostics. This message usually pops up during the boot process when the BIOS (Basic Input /Output System) detects an issue with the cooling system, specifically the CPU fan. This error is a warning that the CPU fan may not be spinning at the expected speed, which could potentially lead to your system overheating.
“The “CPU fan speed error detected” message means the CPU fan is not working correctly, risking overheating. It’s important to check or replace the fan.”
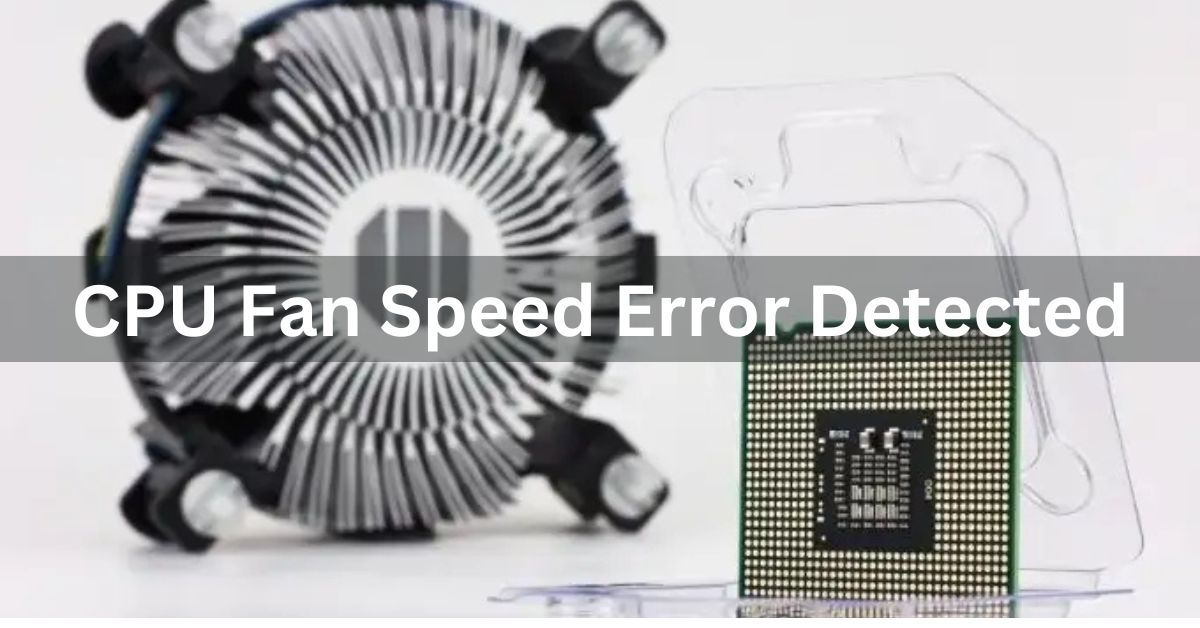
In this article, We will discus “ CPU fan speed error detected”
Table of Contents
What Does “CPU Fan Speed Error Detected” Mean:

The message “CPU fan speed error detected” is a signal from your motherboard’s BIOS that something is wrong with the cooling system of your central processing unit (CPU). During the initial boot-up, the BIOS runs a system check, which includes verifying the speed and function of the CPU cooling fan. If the fan is either spinning too slowly, not spinning at all, or malfunctioning in some way, the system flags this and triggers the error to protect your computer from potential overheating.
Without proper cooling, your CPU can quickly overheat, which could lead to system instability, unexpected shutdowns, and in the worst-case scenario, permanent damage to the CPU and other components. This error serves as a preventive measure, giving you the chance to troubleshoot and fix the issue before it becomes critical.
What Causes the “CPU Fan Speed Error Detected” Message:
Several factors can trigger a CPU fan speed error, and understanding the root cause is the first step toward resolving it. Let’s explore the most common causes:
Fan Malfunction or Failure:
A straightforward cause of the error could be a faulty CPU fan. Over time, fans can wear out, leading to reduced efficiency, slower speeds, or complete failure. When the fan doesn’t spin at its optimal speed or stops entirely, the system detects this and triggers the error.
Also Read: How Do I Check CPU Temperature In Windows 10 – Easy Methods Explained!
Signs of a Faulty Fan:
- Excessive noise from the fan area.
- Inconsistent or jerky fan movement.
- The fan not spinning when the system is powered on.
Loose or Improper Fan Connection:
A loose or improperly connected fan can also cause this error. The CPU fan connects to the motherboard through a header labeled “CPU_FAN.” If this connection is loose, damaged, or connected to the wrong header, the system might misread the fan’s RPM or fail to detect it altogether, resulting in a fan error.
Incorrect BIOS Settings:
In some cases, incorrect fan speed settings in the BIOS can cause the CPU fan to operate at an unexpected speed. For instance, if your BIOS is set to expect a higher minimum RPM than what the fan is providing, it may trigger the error even if the fan is working fine. Incorrect configurations can also occur if the fan speed control is set to “manual” when it should be on “automatic” to dynamically adjust the speed based on CPU temperature.
Dust Buildup and Poor Maintenance:
Dust can clog the fan blades or obstruct airflow, causing the fan to work inefficiently. Over time, excessive dust accumulation can slow the fan down or cause it to malfunction. If the fan is unable to spin at the required RPM due to physical obstructions, the system will report it as an error.
Incompatible or Third-Party Fans:
If you’ve recently upgraded or replaced the CPU fan with a third-party cooling solution, the new fan might not be fully compatible with your motherboard’s BIOS. This can lead to the fan speed being incorrectly detected, even if the fan itself is working properly. Incompatibility issues can arise if the fan lacks certain sensors or features that the BIOS is programmed to detect.
Fan Speed Under Heavy Load:
Some cooling solutions, especially those with large heat sinks or water-cooling systems, might not need to spin the fan at high speeds under low-load conditions. However, if the BIOS is set to expect higher RPMs, it might falsely detect a fan error when the fan is operating normally but at a lower speed.
How to Fix “CPU Fan Speed Error Detected”:

Fixing the CPU fan speed error can vary in complexity depending on the root cause. Below are some comprehensive troubleshooting steps to help resolve the issue.
Check the Physical Connections:
The first step is to inspect the CPU fan’s physical connection to the motherboard. Here’s how you can do it:
- Power off your system: Before opening the case, turn off your computer and unplug it from the power outlet to avoid electrical damage.
- Open the case: Use a screwdriver to open the side panel of your PC case and locate the CPU fan. It’s usually positioned directly above the CPU.
- Inspect the fan connection: Ensure the fan is securely connected to the correct header on the motherboard (marked “CPU_FAN”). If it’s plugged into a different header, such as a “CHA_FAN” (chassis fan), the BIOS won’t be able to detect the fan properly.
- Check for damage: Inspect the fan cable and connectors for any signs of damage or wear. A damaged cable might need to be replaced.
Clean the Fan and Heatsink:
Over time, dust and debris can build up inside your computer, clogging the CPU fan and heatsink, leading to the fan slowing down or malfunctioning. Here’s how to clean it:
- Use compressed air: Blow compressed air into the fan blades to remove dust. Be sure to blow air through the heatsink to clear any dust trapped between the fins.
- Clean the entire system: If your case is filled with dust, it’s a good idea to clean other components as well, including the power supply fan and any other case fans.
Also Read: Windows 11 CPU Compatibility List – Is Your Processor Supported!
Adjust BIOS Fan Settings:
Incorrect fan speed settings in the BIOS can also trigger this error. Here’s how to adjust them:
- Enter BIOS/UEFI: Upon restarting your computer, press the appropriate key (usually Del, F2, or Esc) to enter the BIOS or UEFI setup screen.
- Navigate to the fan settings: Look for the hardware monitoring section where fan speeds and CPU temperatures are displayed.
- Set fan control to automatic: If the fan speed is set to manual control, change it to automatic. This allows the system to adjust the fan speed based on the CPU temperature.
- Lower the minimum RPM threshold: If the error persists, consider lowering the minimum RPM limit. This may help resolve false positives.
Replace the CPU Fan:
If the fan itself is faulty, you may need to replace it. When selecting a new CPU fan, ensure that it’s compatible with your CPU and motherboard. High-quality fans from reputable manufacturers like Noctua, Cooler Master, or Corsair are good options for long-term reliability.
Update Your BIOS:
Outdated BIOS versions can sometimes cause fan errors due to incorrect fan speed detection or control algorithms. If you’ve tried all other solutions, updating the BIOS might fix the issue:
- Check your motherboard’s website: Visit the manufacturer’s support page to download the latest BIOS update.
- Follow the instructions carefully: BIOS updates can be risky if not done properly, so make sure to follow the provided instructions carefully.
How to Prevent CPU Fan Errors:
To minimize the chances of encountering the “CPU fan speed error detected” message again in the future, follow these preventive tips:
Regular Maintenance and Cleaning:

Regularly clean your system to prevent dust buildup that could obstruct the fan. Every few months, open your case and use compressed air to clean the fan, heatsink, and other internal components.
Monitor Fan Speed and Temperatures:
Using third-party monitoring software like HW Monitor , Speed Fan , or the motherboard’s built-in utilities can help you keep an eye on CPU temperatures and fan speeds. If you notice irregular fan behavior, you can address it before it turns into a problem.
Ensure Proper Case Airflow:
Good airflow is essential for optimal cooling performance. Make sure your case has adequate intake and exhaust fans and that the interior of your case is free from clutter that could obstruct airflow. Consider upgrading to a larger case or adding more case fans if you find the airflow insufficient.
Also Read: Why Is My CPU Usage So High – Top Reasons Explained!
Use High-Quality Fans:
Investing in a high-quality CPU fan and cooling system can go a long way in preventing fan-related errors. Cheap fans may fail sooner or run inefficiently, whereas higher-quality options tend to offer better cooling performance and durability.
Keep BIOS Updated:
Though BIOS updates are not always necessary, keeping your BIOS up to date can help improve system stability and prevent hardware detection errors, including fan speed issues.
FAQ’s
1.Why Is Detecting a CPU Fan Speed Error Important?
Detecting a CPU fan speed error helps prevent overheating, system instability, and potential hardware damage by warning you of cooling issues early on.
2. What causes a CPU fan speed error?
Common causes include a faulty or malfunctioning fan, loose connections, incorrect BIOS settings, dust buildup, or fan incompatibility.
3. How can I fix the CPU fan speed error?
You can fix it by checking the fan connection, cleaning the fan and case, adjusting BIOS settings, or replacing the fan if necessary.
4. Can I ignore the CPU fan speed error?
No, ignoring this error can lead to CPU overheating, system instability, and potential hardware damage.
5. How can I prevent future CPU fan errors?
Regularly clean your system, monitor fan speeds, maintain proper airflow, and use high-quality fans to prevent this error from occurring.
Conclusion
The “CPU fan speed error detected” message is a crucial warning that signals potential cooling issues, which could lead to system overheating and hardware damage if ignored. By following the troubleshooting steps, such as checking connections, cleaning the fan, adjusting BIOS settings, or replacing the fan, you can resolve the issue effectively. Regular maintenance and monitoring can help prevent future errors and ensure your CPU stays cool and functional for years to come.