
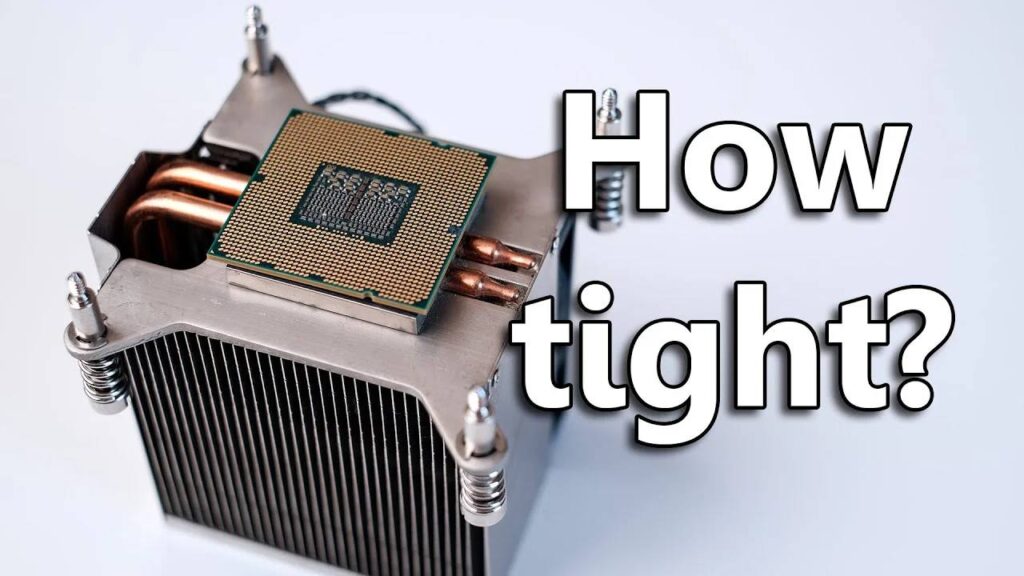
Tightening a CPU cooler might seem simple, but it’s a critical part of the installation process. Applying the right amount of pressure is essential for keeping your CPU cool and ensuring a long, healthy life for your components. Too loose, and the cooler can’t efficiently transfer heat; too tight, and you risk damaging delicate components.
“Tighten your CPU cooler until it’s firmly in place, ensuring even pressure without over-tightening. Aim for a snug fit that holds the cooler securely but avoids excessive force that could damage the CPU or motherboard.”
In this article, We will discuss “ How Tight To Tighten Cpu Cooler”
Table of Contents
Why Tightening Your CPU Cooler Properly Is Important:
The primary role of your CPU cooler is to transfer heat away from the CPU to keep it operating at optimal temperatures. Improper installation, however, can compromise this process, leading to overheating, reduced CPU performance, and even long-term damage. Here’s why finding the right tightness is crucial:
- Efficient Heat Transfer: A well-tightened cooler ensures good contact with the CPU surface, improving thermal conductivity.
- System Stability: CPUs running at higher temperatures may experience thermal throttling, where the processor reduces its speed to prevent overheating, impacting overall performance.
- Component Safety: Over-tightening can put excess pressure on the CPU and motherboard, potentially causing warping, cracking, or even electrical damage.
A balanced approach to tightening your CPU cooler helps you achieve stable performance without compromising your hardware’s safety.
Essential Tools for Installing and Tightening Your CPU Cooler:
Before you start, gather the following tools to make the installation process easier and safer:
- Phillips-head Screwdriver: A standard screwdriver is typically all you’ll need, but make sure it fits well with the screws to prevent stripping.
- Thermal Paste: Essential for optimal heat transfer, thermal paste fills in microscopic gaps between the CPU and cooler.
- CPU and Cooler Manuals: Both the CPU and cooler manuals often contain specific guidance on installation and recommended tightness levels.
Step-By-Step Guide to Tightening Your CPU Cooler Properly:
The following steps will help you achieve the perfect balance when tightening your CPU cooler:
Also Read: How To Unpark CPU Cores – Using Power Settings And Quick CPU!
Apply Thermal Paste Carefully:
Clean the CPU surface and apply a pea-sized dot of thermal paste in the center of the CPU. Ensure the paste is evenly applied without air bubbles.This will spread out evenly once the cooler is installed, filling any small gaps for improved heat transfer.
Proper paste application helps maintain stable temperatures, especially under heavy loads, and extends the life of your CPU. Reapply thermal paste every 1–2 years to ensure consistent cooling performance.
2. Position the Cooler Accurately:
Align the cooler’s baseplate with the CPU and the mounting points on the motherboard. Ensuring accurate alignment reduces the need to adjust the cooler after partially tightening it, which can disturb the thermal paste.
Gently lower the cooler into place to avoid shifting the paste, and ensure an even distribution across the CPU surface. A misaligned cooler can result in poor thermal performance and higher temperatures.
3. Hand-Tighten the Screws First:
Start by hand-tightening each screw just enough to hold the cooler in place. Use a cross-pattern (tighten one corner, then the opposite) to apply even pressure, which helps prevent uneven contact.
This technique ensures that the cooler is properly centered on the CPU, promoting uniform pressure across the surface. Avoid overtightening by hand to prevent damaging the screws or the motherboard.
4. Use a Screwdriver for Gradual Tightening:
After hand-tightening, use a screwdriver to tighten each screw a bit further. Continue using the cross-pattern, turning each screw a couple of times and moving to the next. This gradual tightening method ensures even pressure and prevents the cooler from being too tight on one side. Tighten the screws in small increments, checking the fit periodically, to avoid putting too much pressure on any single point. Over-tightening can lead to damage, so aim for a snug, secure fit.
5. Test for Stability:
Give the cooler a gentle wiggle to check for stability. If it feels securely in place without shifting, you’re likely in the optimal range. Avoid further tightening once you reach this point to avoid damage. Additionally, check for any unusual movement or noise, as this could indicate that the cooler isn’t fully seated. A stable cooler ensures proper heat transfer and prevents unnecessary strain on the motherboard and CPU.
Also Read: How Much RPM For CPU Fan – How Much Do You Really Need!
6. Monitor Performance Post-Installation:
Once installed, monitor your CPU’s temperatures under typical loads. If your CPU is running hotter than expected, it could indicate insufficient contact or thermal paste application, while significantly lower temps suggest the cooler is properly seated.
Use temperature monitoring software to track performance during gaming or heavy tasks, and adjust the cooler if necessary. Keeping an eye on these temperatures ensures your system remains within safe operating limits.
How to Know If Your Cooler Is Too Tight:
It can be challenging to gauge when the cooler is too tight, as symptoms may not be immediately apparent. However, here are some signs that your cooler might be overtightened:
- Motherboard Flexing or Warping: If you notice the motherboard bending around the cooler mount area, the screws may be too tight.
- Cracking Sounds During Installation: Any cracking noises during tightening may indicate that the cooler or the motherboard is under too much pressure.
- High CPU Temps or Instability: Paradoxically, an overtightened cooler may result in poor heat transfer due to uneven pressure, leading to unexpectedly high CPU temperatures or even system crashes.
If you experience any of these issues, back off each screw slightly to relieve some of the pressure.
Tightening Recommendations for Different Types of Coolers:
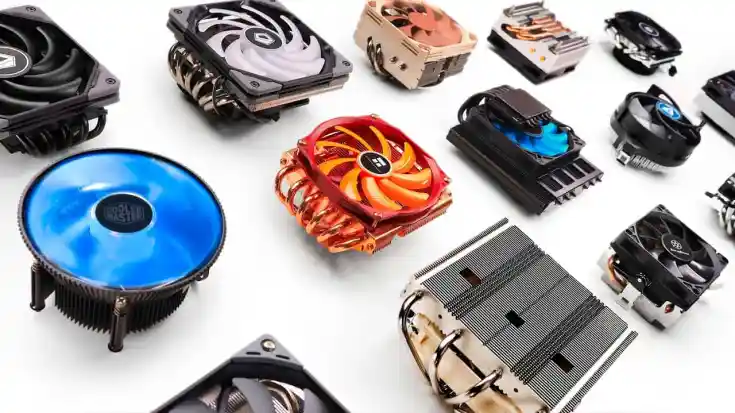
Each type of CPU cooler has different requirements when it comes to tightening:
Air Coolers:
These often use a basic mounting bracket and screws. Aim for a snug fit without straining the screws too much. Use the cross-pattern to apply even pressure across the CPU. Ensure that the cooler’s fan is positioned for optimal airflow and doesn’t obstruct RAM or other components. Proper installation will ensure the best cooling performance and prevent unnecessary strain on the motherboard.
AIO (All-in-One) Liquid Coolers:
These tend to be heavier than air coolers, so they require a bit more tightening. However, avoid excessive force. AIOs typically have specific mounting brackets that make installation straightforward; follow the manufacturer’s instructions carefully. Ensure the pump is aligned correctly to avoid vibrations and optimize cooling efficiency.
Also Read: How To Measure CPU Fan Size – A Beginner’s Guide To Cooling Solutions!
Custom Water Blocks:
Custom cooling setups may require specific mounting pressure for best results. For custom blocks, refer to the manufacturer’s guidance, as water blocks are often very sensitive to mounting pressure.
Over-tightening can damage the block or reduce the effectiveness of the thermal transfer. It’s essential to ensure a uniform and precise installation to achieve optimal cooling performance and avoid leaks or system instability.
Tips for Maintaining Cooler Performance:
Proper installation is just the beginning. To keep your cooler functioning optimally, consider these maintenance tips:
Recheck Tightness Periodically:
Coolers can gradually loosen over time due to system vibrations. Check your cooler every 6 to 12 months to ensure it remains secure, particularly if you move your system frequently. Regularly inspect the mounting screws for any signs of wear or looseness, and reapply thermal paste if necessary. Keeping your cooler tight and properly maintained helps prevent overheating and ensures consistent cooling performance.
Avoid Overclocking Without a Secure Fit:
Overclocking generates more heat than stock CPU settings, so a secure cooler fit is essential. If you’re overclocking, make sure your cooler is installed correctly and that temperatures remain within safe limits. Inadequate cooling can lead to thermal throttling, system instability, or even permanent damage to your CPU. Regularly monitor temperature levels while overclocking to ensure your cooler is handling the increased heat load effectively.
Use High-Quality Thermal Paste:
Thermal paste quality varies widely, and better-quality paste will improve heat transfer. Reapplying thermal paste every 1 to 2 years, especially if you’re experiencing temperature spikes, can help maintain good cooling performance. High-quality paste also lasts longer, reducing the risk of drying out or losing effectiveness over time.
Final Thoughts: Finding the Right Tightness for Your CPU Cooler
Knowing how tight to tighten your CPU cooler is essential for efficient cooling and hardware safety. Aim for a firm, stable fit, but avoid overtightening that can damage components. Proper installation and maintenance will keep your CPU cooler running efficiently, ensuring that your system stays cool, stable, and performing at its best.
FAQ’s
1. How tight should a CPU cooler be?
Tighten until the cooler feels firmly in place and doesn’t wiggle, but avoid applying excessive force to prevent damage.
2. What happens if a CPU cooler is too tight?
Over-tightening can warp the motherboard, crack the CPU, or damage the cooler, leading to poor cooling performance or system instability.
3. Is it okay to hand-tighten a CPU cooler?
Yes, start by hand-tightening the screws and then use a screwdriver for a final snug fit without over-tightening.
4. How do I check if my CPU cooler is tight enough?
Gently wiggle the cooler; if it’s secure and doesn’t move, it’s tight enough. Monitor temperatures to confirm good contact.
5. Can a loose CPU cooler cause overheating?
Yes, a loose cooler may not make proper contact with the CPU, leading to poor heat dissipation and potential overheating.
Conclusion
Properly tightening your CPU cooler is essential for effective cooling and component safety. Aim for a secure fit without over-tightening to avoid damaging your CPU or motherboard. With balanced tightening and periodic checks, you can maintain optimal cooling performance for a stable and efficient system.